Paperbush (Edgeworthia) in Bloom in mid-March Garden
To begin, I must thank South Carolina nurseryman, Mr. Ted Stephens, who gifted me a Chinese paperbush (Edgeworthia chrysantha) 12 years ago. Most plant authorities rate its winter hardiness to USDA zones 7 and 8, but no one told this to my edgeworthia in zone 6-b. People who see it blooming in my early March garden like it and ask what it is. While paperbush may struggle its first winter before becoming fully established, it never disappoints.
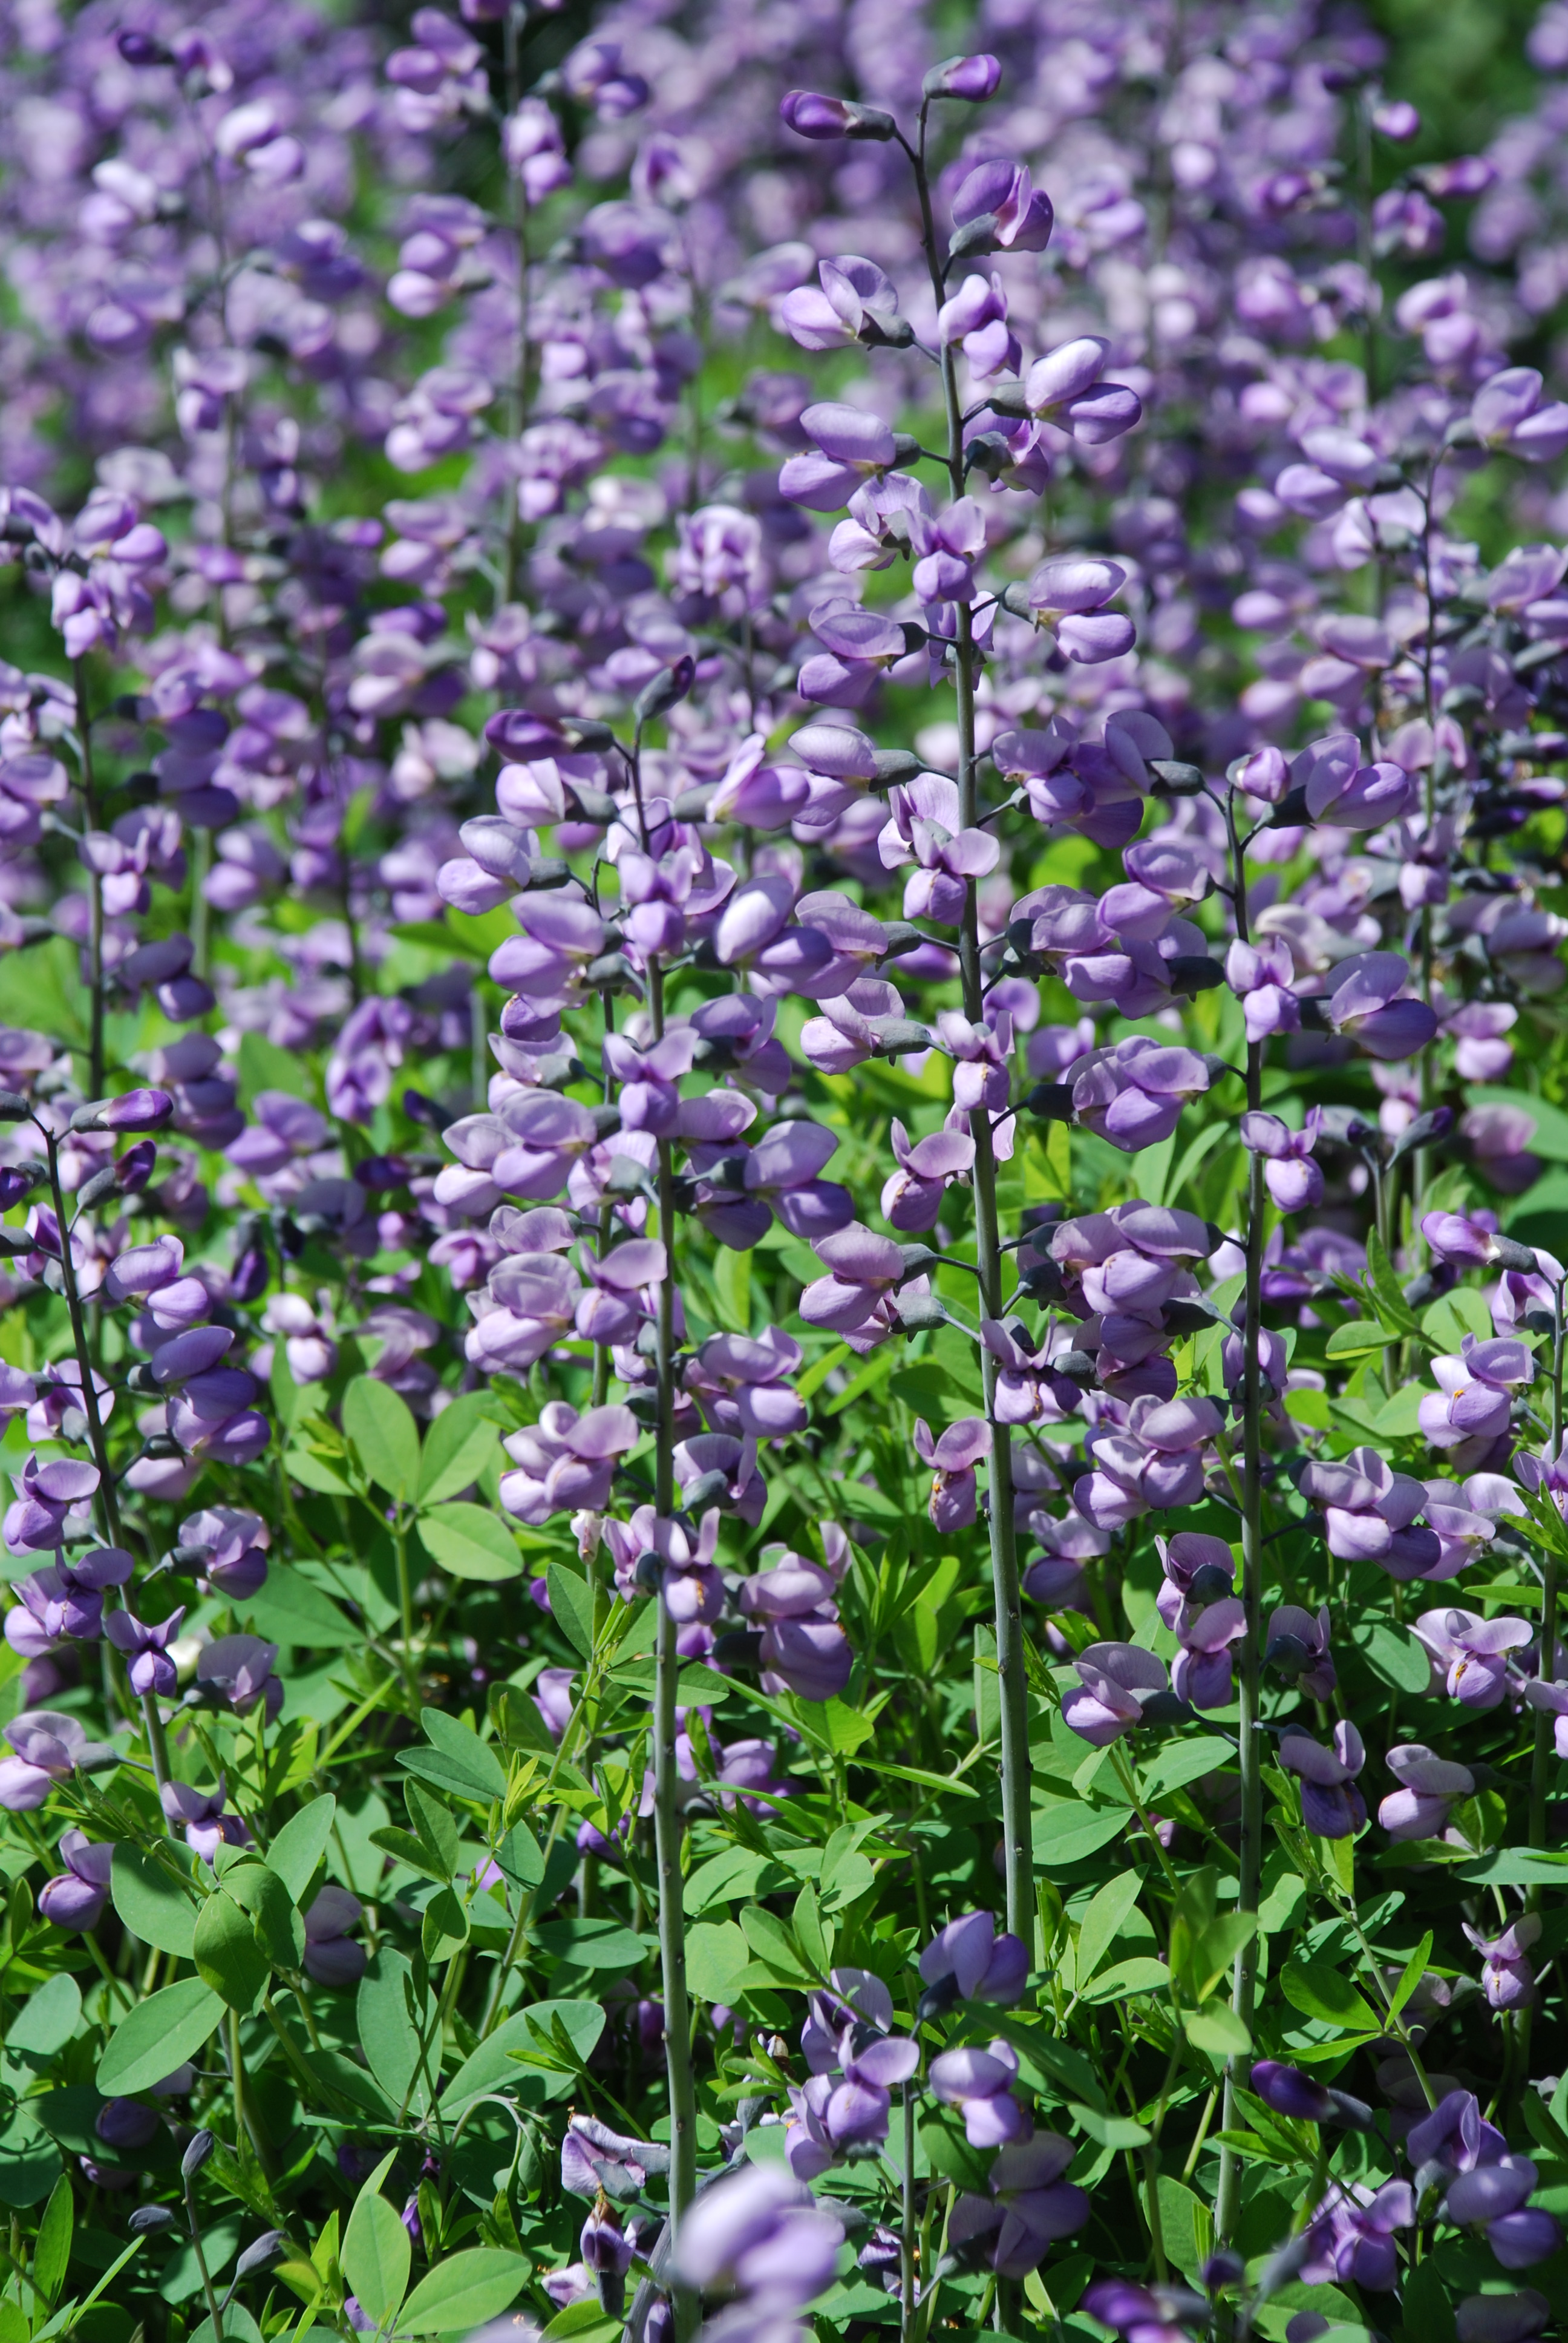
Paperbush will become a joy waiting for you on a cool March day. Six months later (mid-autumn), its unique nodding floral buds are clearly visible on branch tips. Paperbush is a close botanical relative of the daphnes. Up close, the small tubular flowers are very fragrant!
Flowers are light yellow on the inside and white on the outside. Over the years roots may sucker new plants, eventually developing into a small plant colony. If your plant reaches suckering stage, congratulations, it is happy in your garden.
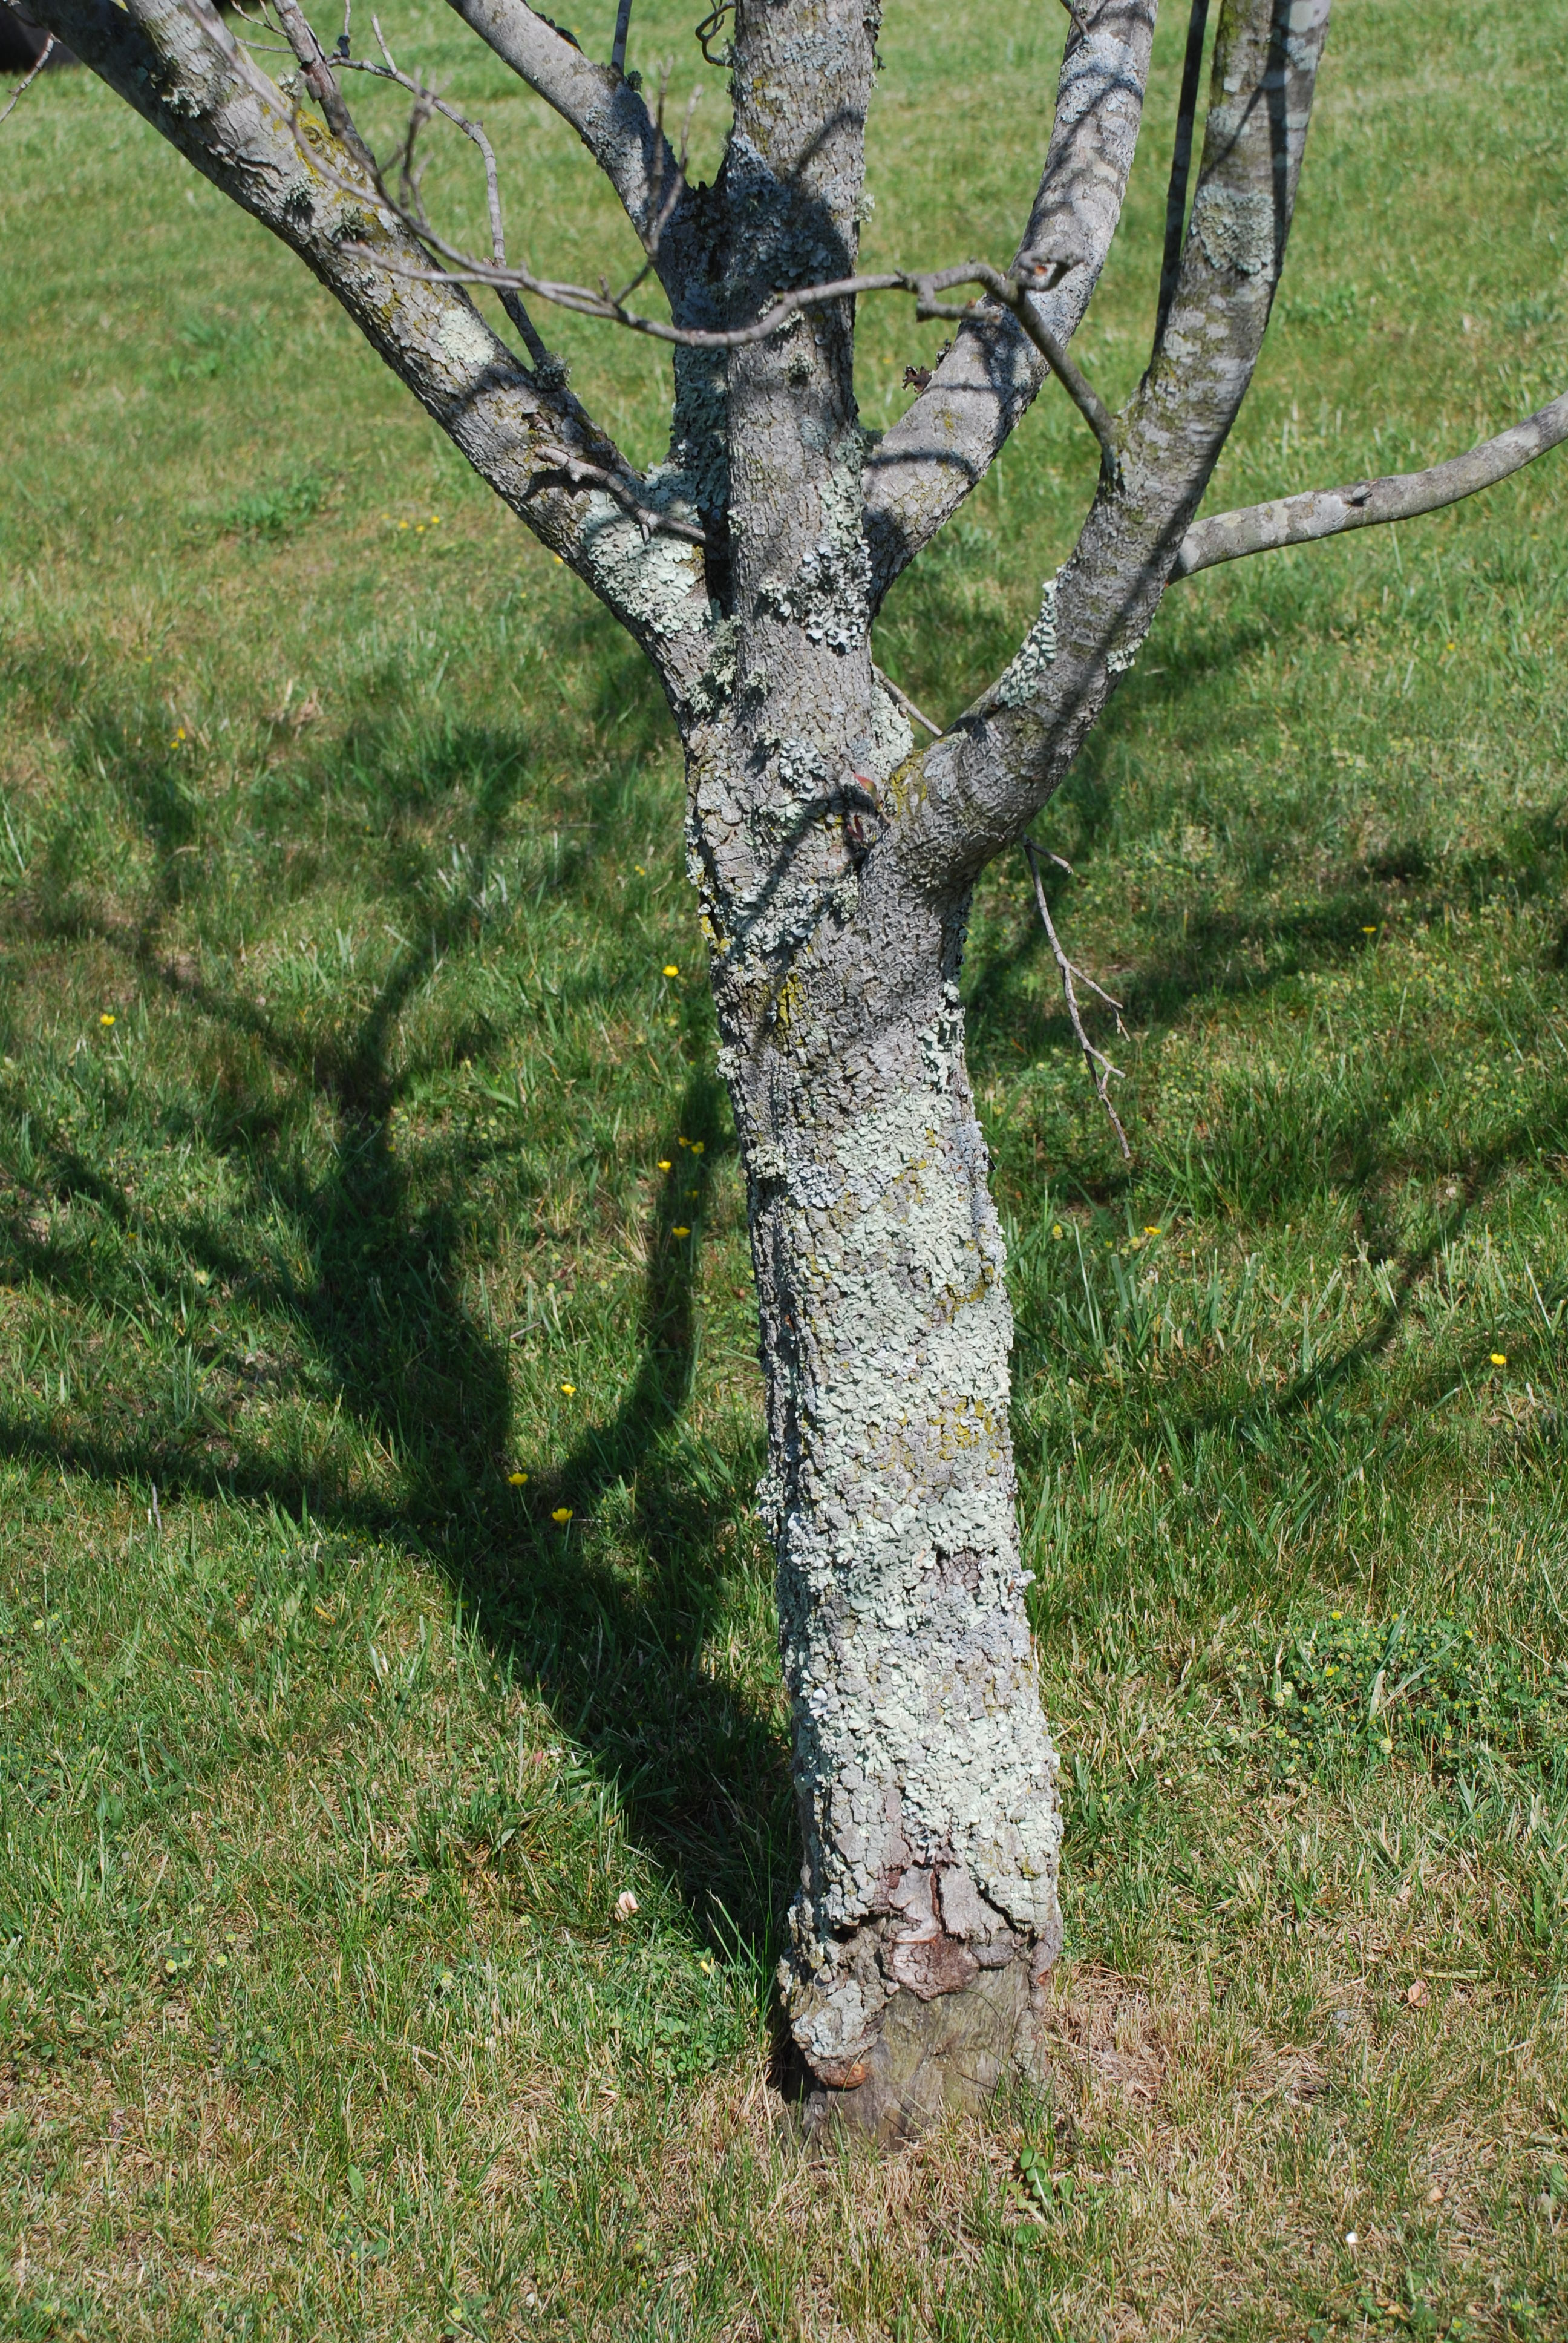
Paperbush is a multi-stemmed shrub, and new shoots are covered with reddish brown hairs. The 4-5 feet tall and wide plants have attractive greenish blue summer foliage.
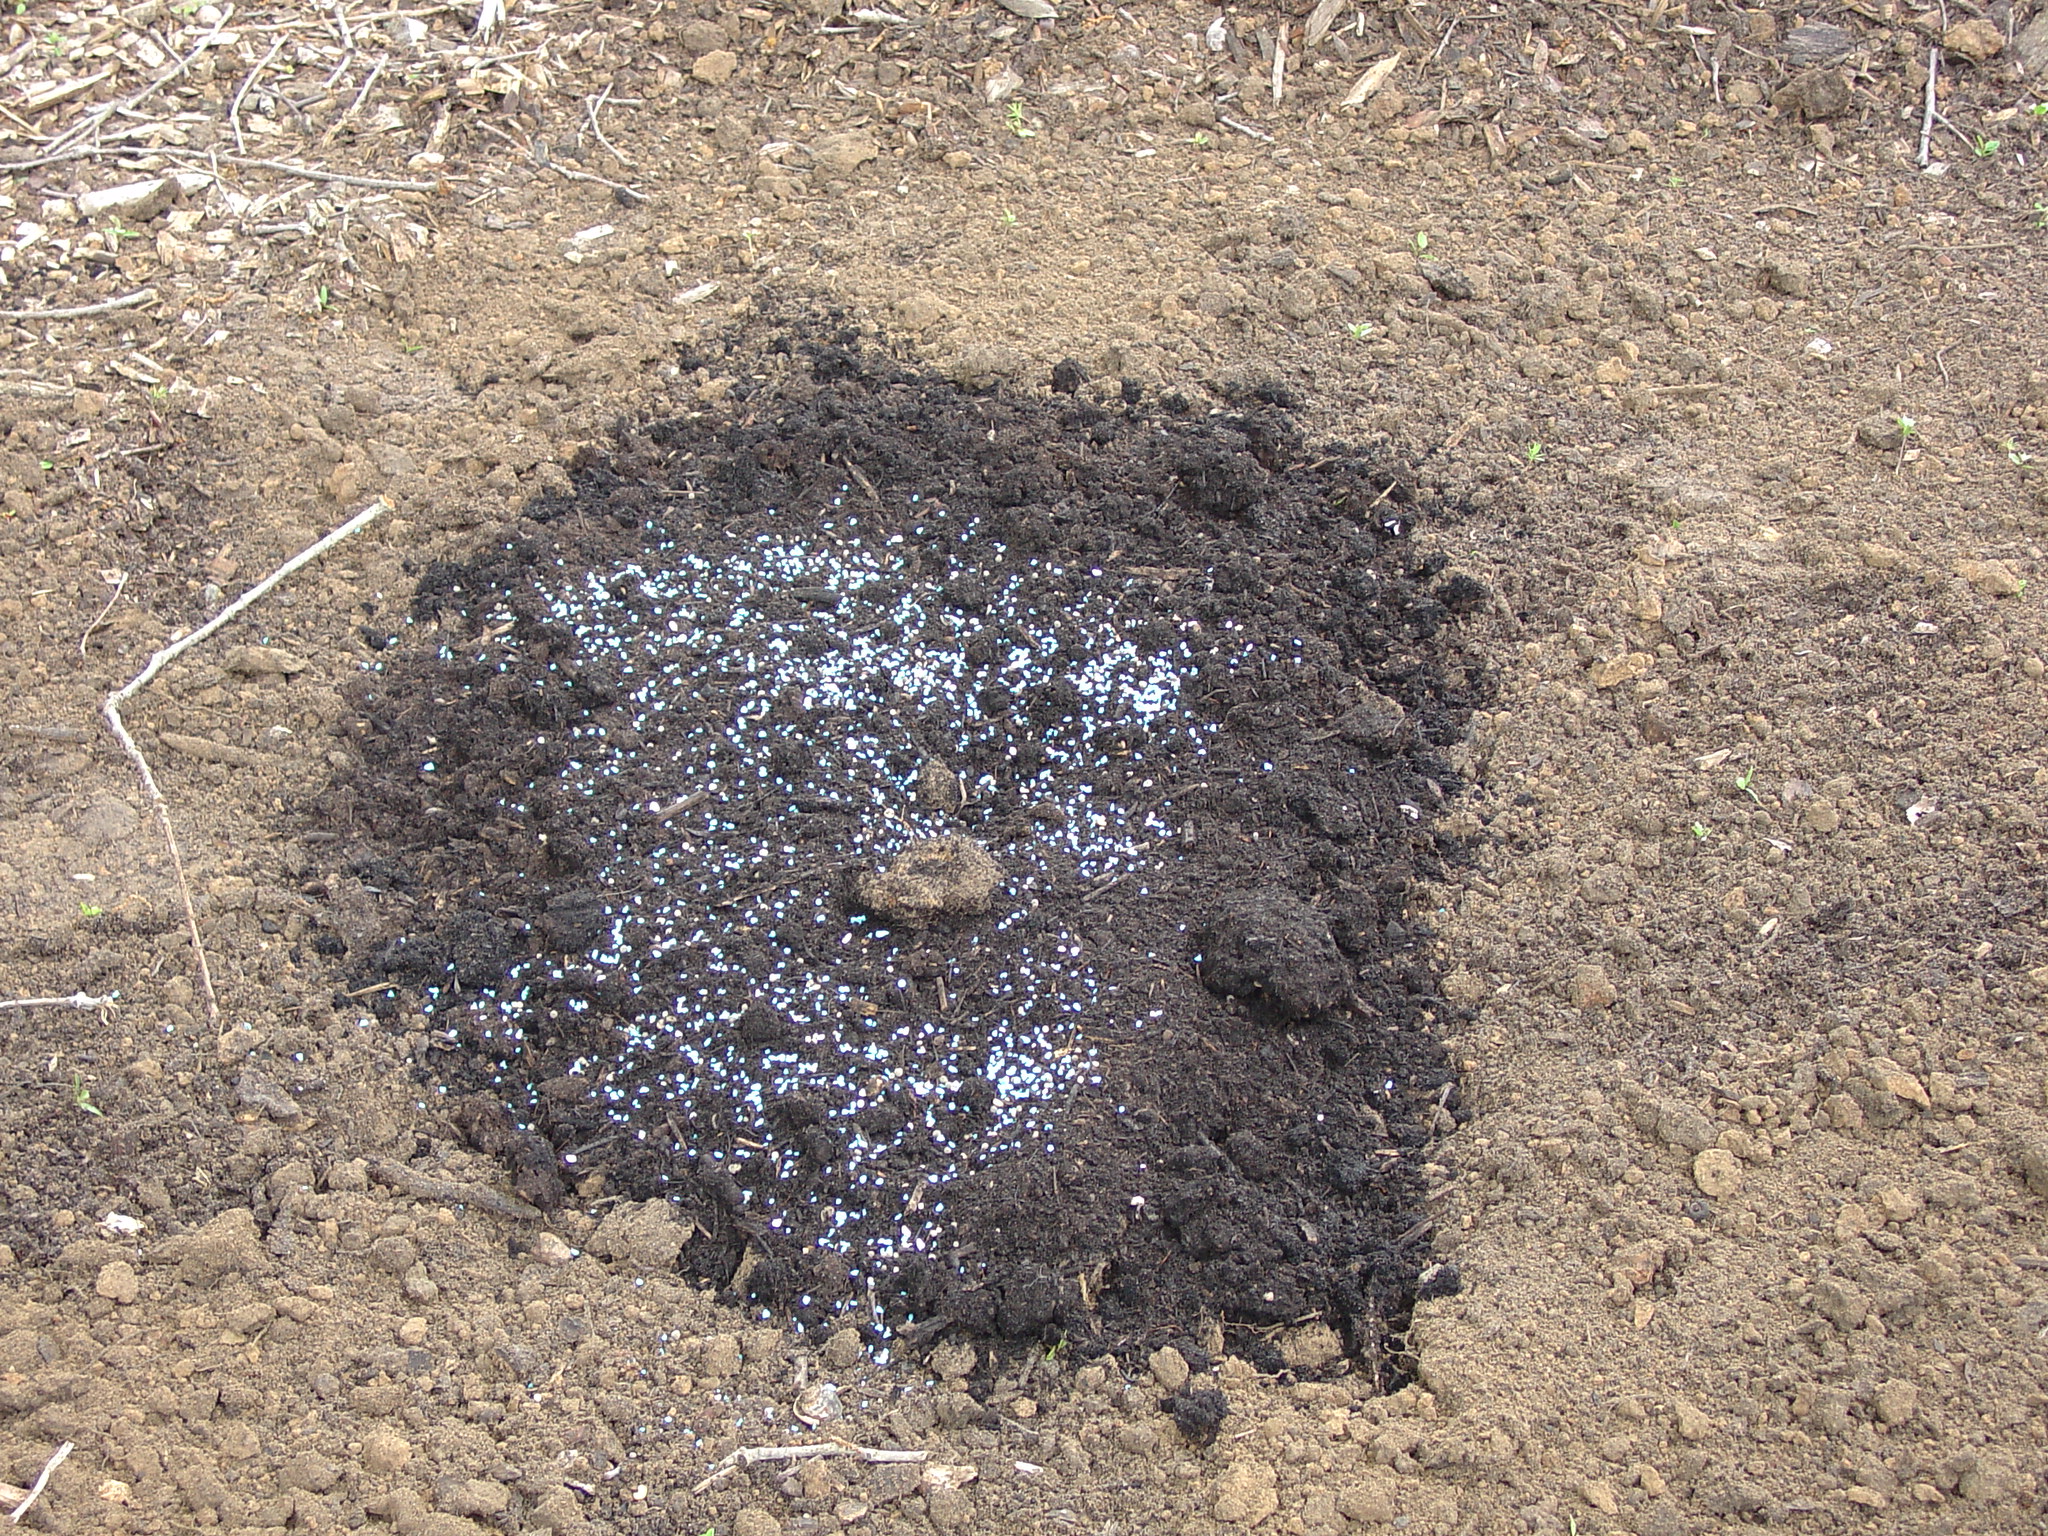
Paperbush should be planted in partial shade away from high winds and direct summer sun. Plant in compost-rich, well-drained, acidic soil. Fertilize in early spring with slow-release Hollytone™, Nutricote™, or an equivalent product.
According to Plant Delights Nursery in Raleigh, NC, the species E. chrysantha is more winter-hardy (below 0 °F) than E. papyrifera. Paperbush is a collector’s plant and is sold on-line by e-commerce nurseries.
New cultivars abound including ‘Red Dragon’ with pale reddish-lipped tubular florets and ‘Snow Cream’ with pale yellow florets.