Late Summer Bulbous Beauties – Spider Lily and Fall Crocus

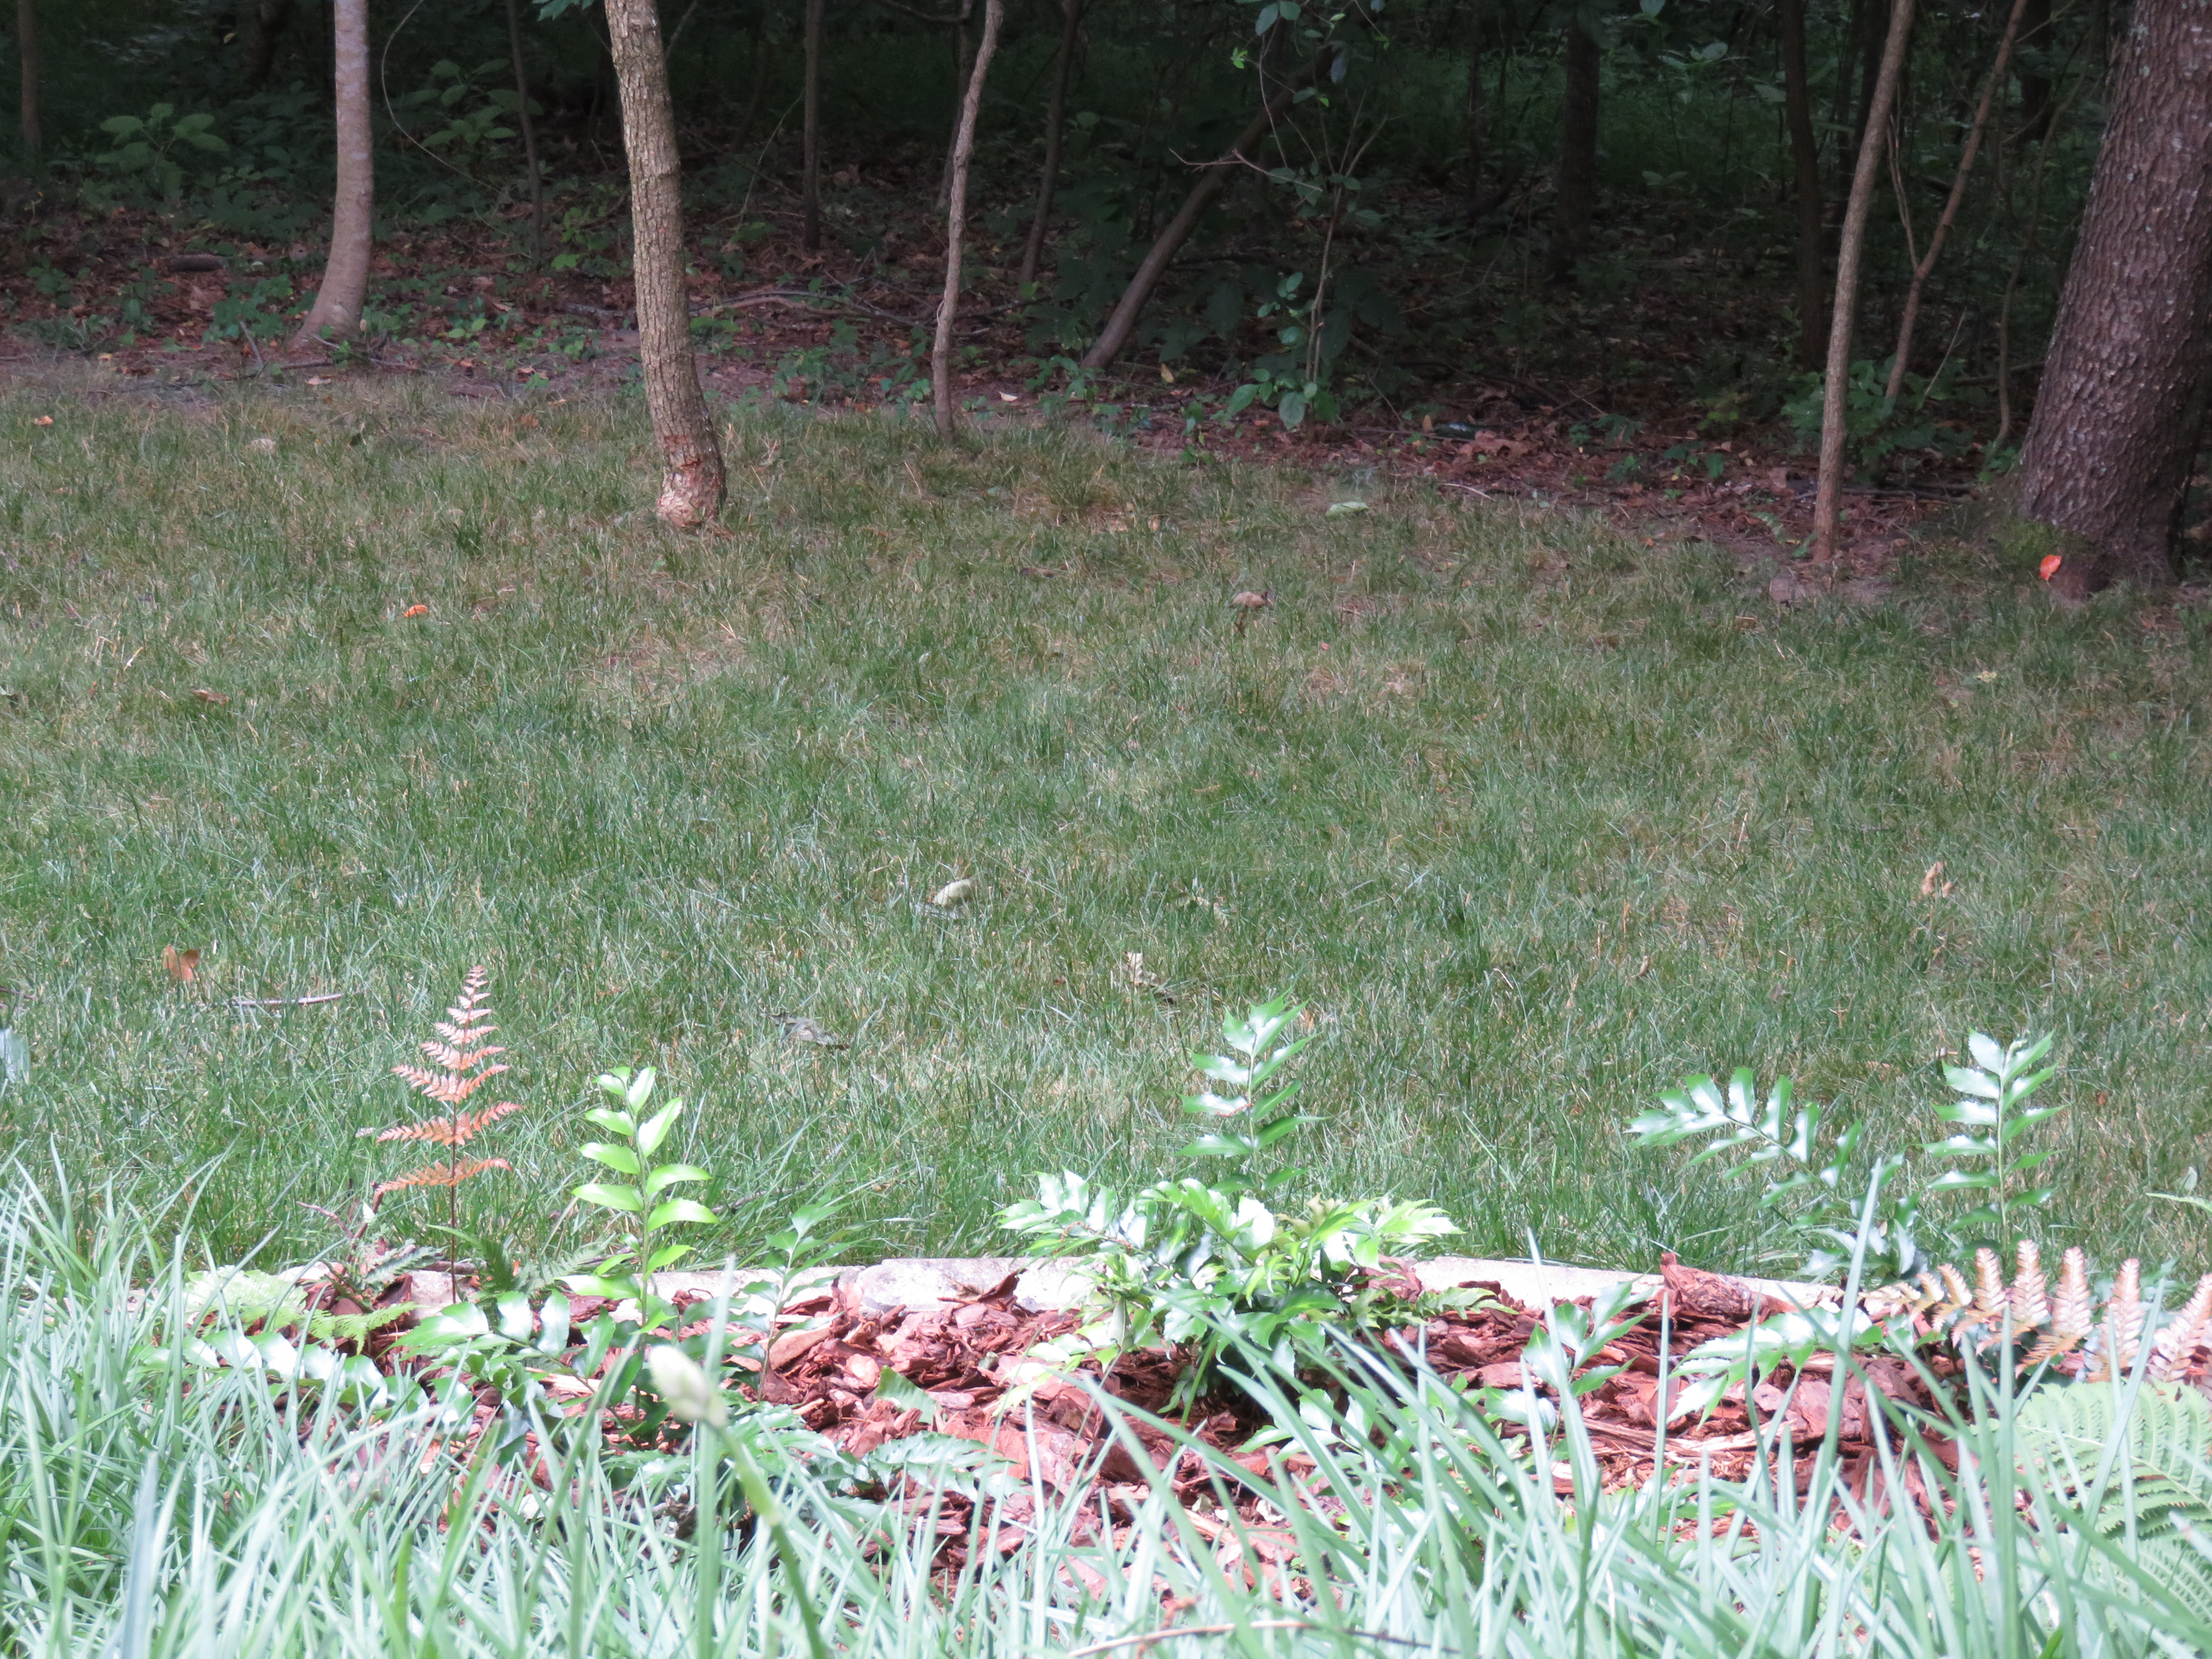
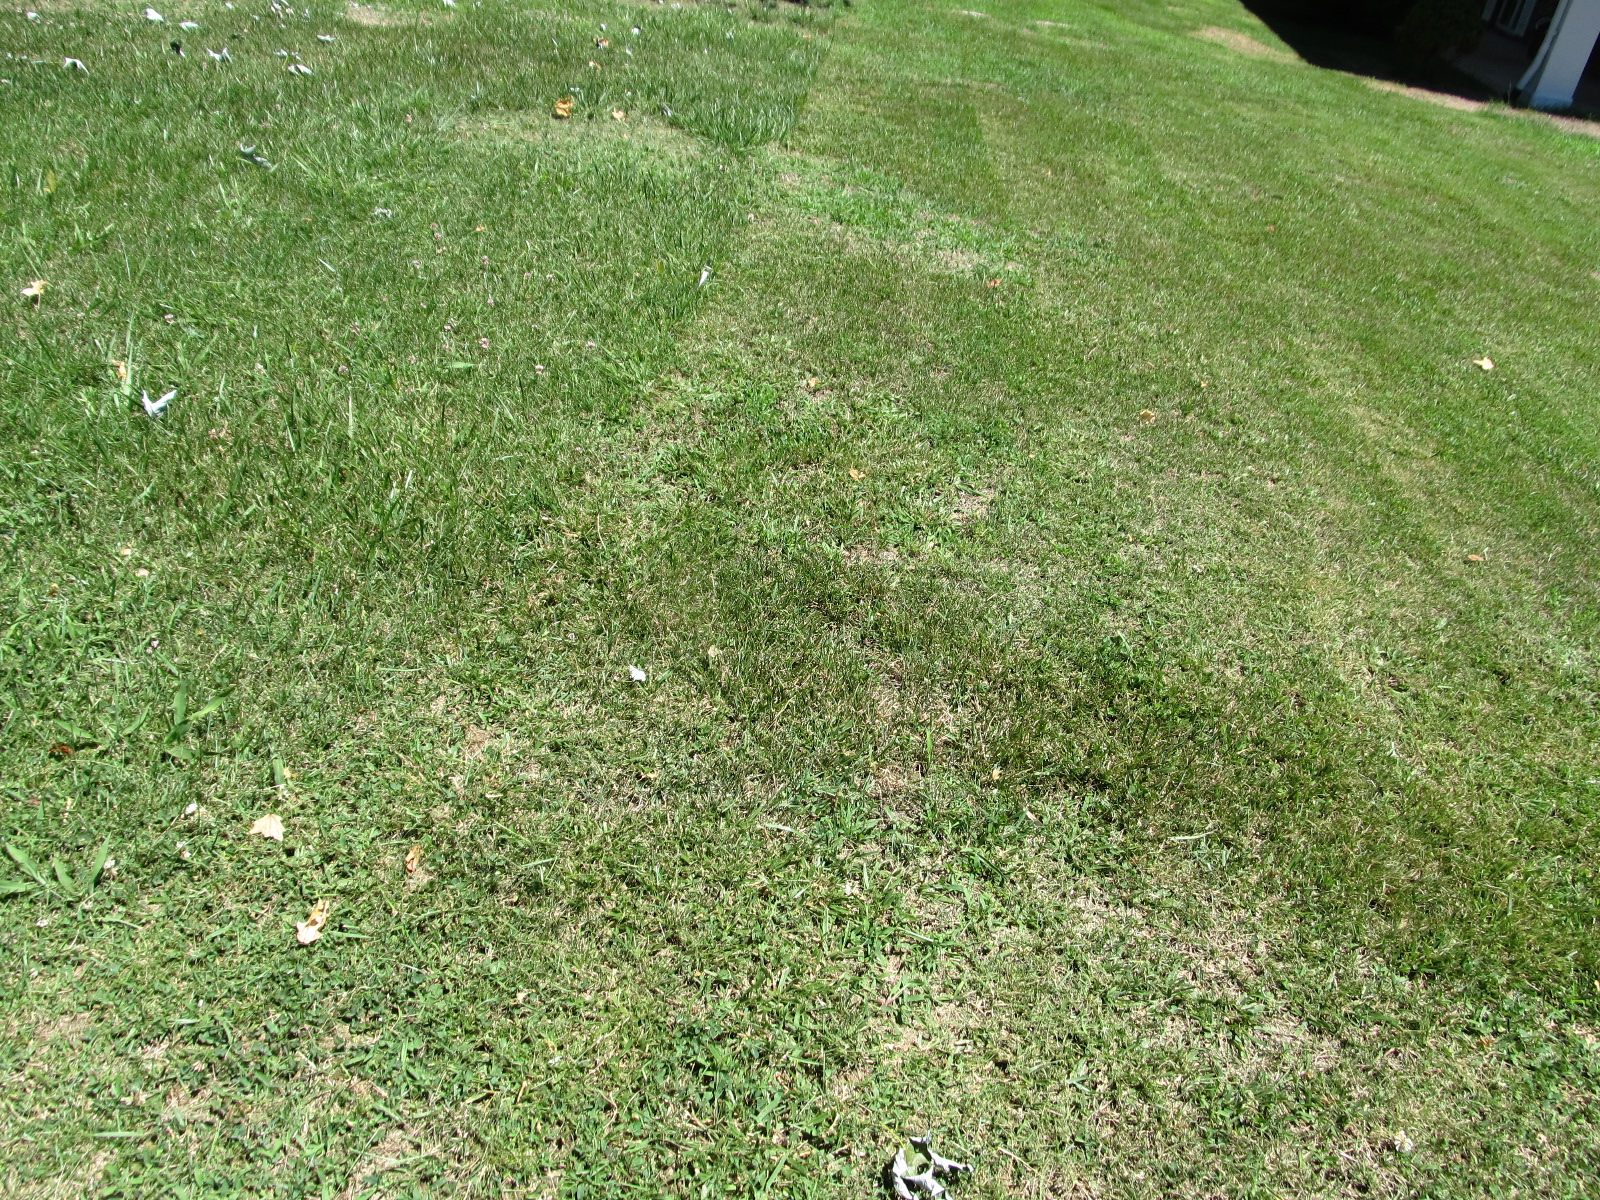
Spider Lily Pops Up in Weedy Lawn

Colchicum (fall crocus)

Spider lilies (Lycoris radiata) go by a number of colloquial names including resurrection flower, surprise lily, and naked ladies. Naked 1-2 foot tall flower scapes bear 4-6 bright coral-red flowers. Each 2- inch long flower exhibit reflexed tepals and long protruding stamens resembling spider legs (common name “spider lilies”).

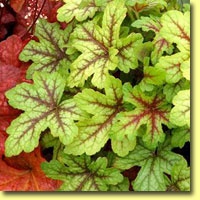
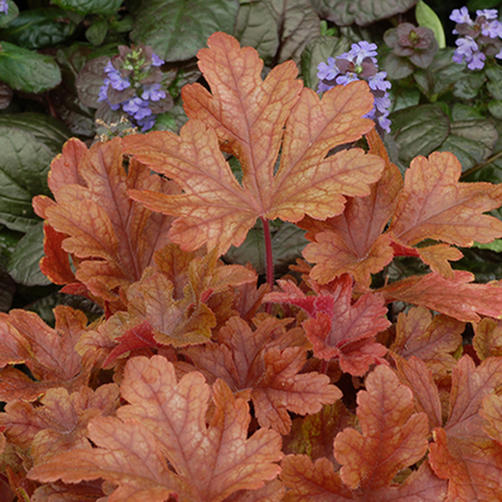
Almost overnight, the leafless flower spikes arise in late summer. Several weeks later, strap-like gray-green leaves arise where the floral stalks had been and have now disappeared. Foliage stays evergreen through the winter to feed the below ground bulbs before dying back in spring.

Plant bulbs 9 -12 inches apart in late spring or early fall. Plant them shallow with the neck of the bulb just peaking through the ground. Plants will naturalize by bulb-offsets and form small colonies over time in the southeastern U. S. (USDA hardiness zones 6-10).

Autumn crocus (Colchicum autumnale) is native to Great Britain and Ireland (USDA hardiness zones 4-7). Colchicums bloom in the earliest days of fall often coming up in late August. In late spring, plants send up 4-6 dark green lance-shaped leaves, some which 10- 14 inches long. The foliage yellows and dies down by summer into dormancy. Flower stems with no leaves emerge from the ground to 4-6 inches tall in late summer to early fall bearing goblet-shaped 3 inch long flowers. Flower colors vary from purple to pink to lilac. Weak flower stems tend to flop.

Plant corms 3 inches deep and 6 inches apart in August for bloom that occurs in the same year and many years following. To move or expand an existing planting, mid- to late-summer in the best time.

Both Lycoris and Colchicum grow in organically rich, medium moisture, well-drained soils in full to partial sunlight. Plants respond negatively to soil moisture, preferring dry soils during the summer dormant season and moderate soil moisture during bloom period in late summer. Provide a minimum of 4-5 hours of sunlight for high flower count.

Colchicums (autumn crocus) are not be confused with the true autumn crocus or saffron crocus (Crocus sativus) that also bloom around the same time. The latter are edible and closely related to the spring-flowering crocuses. All plant parts of colchicum are highly poisonous

Neither lycoris or colchicums have serious insect or disease problems. In a wet summer slugs and snails may become significant troublesome pests.

Garden Phlox – Select Mildew Resistant Varieties

Garden phlox (bicolor)

Garden phlox (bicolor)

Phlox 'David'

Phlox ‘David’


Garden phlox (Phlox paniculata), aka summer phlox, is native from New York to Iowa south to Georgia, Mississippi and Arkansas (USDA hardiness zones 4 to 8(9)). They are valued for their long beautiful floral display and fragrance. In the wild phlox grow it in moist, rich open woodlands, alluvial soils along streams and rich garden soils.

The right location is an absolute when growing garden phlox. Phlox prefer an compost-rich, moist, moderately acidic, well-drained soil. Best flowering on sturdy healthy plants is in full sun. Space plants adequately for good air circulation to prevent or reduce powdery mildew problems. Phlox are intolerant of dry soils and summer dry spells. Avoid overhead watering and trickle irrigation; mulching helps to cool soil and maintain soil moisture. Remove faded flower panicles to prolong bloom period and to prevent unwanted self-seeding (cultivars generally do not come true from seed).

Garden phlox are clump growers and grow 2-4 feet tall and  2-3 feet wide on sturdy stems. The dark green lance-shaped leaves are 4-6 inches long and prominently veined. Dome shaped flower clusters are densely packed with a hundred or more  1 inch wide tubular florets. Each individual floret has a long corolla tube and five flat petal-like lobes. Color choices include white, lavender, pink, rose, red and bi-colors. Butterflies and hummingbirds swarm around the fragrant flowers; deer usually stay away.

Divide clumps every 3-4 years to maintain plant vigor.

Phlox is not always an easy plant to grow. Powdery mildew and occasional spider mites can be troublesome, particularly in the southeastern U.S.  Do your homework when selecting the cultivars to plant in your garden. Check for trial garden evaluations at state agricultural university. A cultivar rated as resistant in powdery mildew in Chicago may not be in Philadelphia, Atlanta, or Dallas. In a 1999-2001 North Carolina State University Trial in Mills River, no varieties proved to be completely powdery mildew resistant. However, these cultivars exhibit a high degree of disease resistance: ‘David,’ ‘Delta Snow,’ ‘ Natascha,’ ‘Robert Poore,’ ‘Speed Limit 45’ and the species Phlox caroliniana.

Some comments from Mt. Cuba phlox trials (2015-17) in Delaware have been added. This garden blog will be updated in future.

Powdery mildew resistant cultivars to try:

‘David’ – pure white tubular florets; 3-4 feet tall and 2-3 feet wide; floral display not impressive in Mt. Cuba trial.

‘Delta Snow’ – snowy white tubular / purple eye florets; 2-3 feet tall and wide; plants became floppy in midsummer in Mt. Cuba trial.

Flame™ Pink – fuchsia pink /darker pink eye florets; compact 15-18 inches tall and wide;  some leaf spotting in late summer.

‘Katherine’ – dense, blue-lilac / white center florets; 2-3 feet tall and wide; spider mites problem in Mt. Cuba trial.

‘Minnie Pearl’ – white florets; 20 inch tall and wide; repeat blooming; floppy plant habit in late summer.

‘Robert Poore’ – rich lavender purple florets; 4-5 feet tall and 2-3 feet wide; spider mites problem in Mt. Cuba trial..

‘Shortwood’ – pink / dark pink eye florets; 42-48 inches tall and 24-30 inches wide.

‘Volcano Purple’ – lavender/purple / white eye florets; very compact 12-20 inches tall and 18-24 inches wide.

August Is Also An Important Planting Month

Cabbages heading at Dallas Arboretum in early January

Cabbages heading at Dallas Arboretum in early January

'Wirosa Savoy' Cabbage at Atlanta Botanical Garden in October

‘Wirosa Savoy’ Cabbage at Atlanta Botanical Garden in October

“A” starts the alphabet. To most gardeners April starts out the spring planting season. Temperatures are in the comfortable 70°F degree range. Four months later in August, temperatures outside are sweltering. Many of us call them the hot humid “dog days” of August. Dogs and gardeners are suffering alike.

However, August is also a great time to plant flowers and vegetables. Visit the local garden center and buy large 6 inch size annuals which are often “on sale”. Buy fresh plants and not the potbound, worn out leftover annuals which the store did not sell in the spring. Some of the best to plant in August include petunias, calibrachoas, (million bells), geraniums, snapdragons, diascias, and marigolds. Pansy seed must be started in a cool basement environment under “gro-lights”.

In the mid-South region (USDA hardiness zones 6 and 7), September and October weather is usually great for flowers planted in mid-summer. When setting out plants, water them daily during week one, then every 2-3 days in the 2nd and 3rd weeks. Then, water plants as needed. These annuals are demonstrate exceptional cold tolerance, unfazed by mid-20°F nights in fall.

Many vegetables may be established in August. Cabbage, broccoli, cauliflower, lettuce, carrots, beets, and green beans need 60-70 days above freezing to produce a good crop. Cole crops such as broccoli, cauliflower, brussel sprouts, and cabbage are easiest to produce in the late summer into autumn than those started in spring. Spring plants often bolt (go to seed) in the spring as temperatures heat up. Cole crops welcome the cool days of autumn.

In addition, pest activity diminishes with cooler temps. Some pesticide spraying may be needed, although plants can be protected with a cheesecloth or Remay fabric cover. Use a safe bio-insecticide like Dipel or Bt (Bacillus thuringiensis kurstaki) against wormy caterpillar pests.

Need To Deadhead Perennials

Veronica 'Royal Candles

Veronica ‘Royal Candles’

Blanket flower (Gaillardia) re-blooms after deadheading

Blanket flower (Gaillardia) re-blooms after deadheading

Deadheading is the practice of removing spent blossoms to stimulate re-blooming. It also refreshes the plant’s appearance, and lessens the threat of seed dispersal. It redirects the plant’s energy from seed production to root and shoot growth.

Deadheading is an extra chore throughout the growing season. When the plant (perennial or annual) has stopped blooming or its appearance starts to decline, remove the entire flower stalk. Depending on species, a perennial may bloom again 2 -3 more times. Weather and soil moisture and soil fertility are also key factors.

After deadheading apply a water-soluble fertilizer such as Miracle-Gro™ or Schultz™. This is good time to clean up the bed, weed, and add organic mulch. If the soil is dry, irrigate the bed deeply with 3 – 4 hours of overhead irrigation (equivalent of 1 ½ inches of rainfall).

Many perennials do not respond to deadheading. Like other types of pruning, deadheading is plant species specific. It can be difficult to group plants (or people) into categories. For most plants remove spent flowers and stems back where they originate near the plant base. New lateral shoots should appear within a few weeks and blooms 3-5 weeks later.

Deadheading Some Perennials (this list is not complete):

These popular perennials respond to deadheading:

Yarrow (Achillea spp.)

Hollyhock (Alcea rosea)

Columbine (Aquilegia spp.)

Butterfly weed (Asclepias tuberosa)

Hardy begonia (Begonia grandis)

Canna lily (Canna spp.)

Tickseed (Coreopsis spp.)

Cheddar pink (Dianthus gratianopolitanus)

Delphinium (Delphinium spp.)

Foxglove (Digitalis spp. and cvs.)

Purple coneflower (Echinacea purpurea)

Blanket flower (Gaillardia x grandiflora)

Gaura (Gaura lindheimeri)

Geum (Geum spp.)

Sneezeweed (Helenium autumnale)

False sunflower (Heliopsis helianthoides)

Lavender (Lavandula spp.)

Shasta daisy (Leucanthemum x superbum)

Lupine (Lupinus spp.)

Bee balm (Monarda spp.)

Penstemon (Penstemon barbatus)

Garden phlox (Phlox paniculata)

Perennial salvia (Salvia nemorosa)

Pincushion flower (Scabiosa spp.)

Indian pink (Spigelia marilandica)

Stokes’ aster (Stokesia laevis)

Spiderwort (Tradescantia x andersoniana)

Spike speedwells (Veronica spicata)

Culver’s root (Veronicastrum virginicum)

Time to deadhead Helenium

Time to deadhead Helenium

Late Summer Planting of Vegetables

Two Varieties of Cabbage for the Late Summer Garden

Two Varieties of Cabbage for the Late Summer Garden

Cauliflower seedlings for sale at local Garden Center

Cauliflower seedlings for sale at local Garden Center

Mid to late summer is the second season for planting many (not all) kinds of vegetables and herbs in many parts of the U.S. There is still 3 months or more of great growing weather ahead to harvest veggies planted now. You’ll enjoy great harvests for the Thanksgiving and perhaps the Christmas/winter holiday table (USDA zones 5-7).

Start with leafy greens for salads or garnish such as lettuce, pak choi, chard, and parsley. Carrots, beets, peas, green onions, spinach, radish, and some brassicas (cabbage, broccoli, cauliflower, and turnips) are good picks for the fall garden. Long season veggies such as tomatoes, cucurbits (cucumber, pumpkins, squash, and others), and sweet corn are not included.

Diseases, insects, and weeds are less problems. Crops like cabbage, cauliflower, and broccoli can be store outdoors in the garden row through most of the winter without them going to seed (bolting) or developing a bitter taste. Pick them as you need them for the dinner table. Transplants of lettuce, cabbage, broccoli, cauliflower, and others are available at local garden centers starting in August, depending on locality.

In summer start seedlings in pots, flats, or other containers in the cool home basement under gro-lights or in an outdoor cold frame; or directly sow seeds directly into the garden in dappled sun or light shade, but not in direct sun.

Set your new veggie transplants in a moist garden or raised bed, preferably around twilight when it is cooling off. In the mid-South protect new transplant seedlings under row covers or shade cloth for several days to acclimate them to sun and heat. Light sprinkling (spritzing) seedlings 2-3 times daily also cools seedlings.

Seedlings should adapt to outdoor beds within a week. Keep them adequately watered and fertilized. In USDA zones 8, 9, and 10, some fall-planted crops are harvested all winter long.

Spice Up Dark Garden Spots With Heucherellas

'Alabama Sunrise' Heucherella (photo from Walters Gardens)

‘Alabama Sunrise’ Heucherella (photo from Walters Gardens)


'Buttered Rum' Heucherella (Photo from Walters Garden)

‘Buttered Rum’ Heucherella (Photo from Walters Garden)


Here come the heucherellas (x Heucherella), also called “foamy bells”. Heucherellas are hybrids that result from crossing two U.S. native genera: foamflower (Tiarella spp.) and coral bell (Heuchera spp.). Terra Nova Nurseries, a wholesale grower in Oregon, were the first to develop these hybrids. They possess the awesome foliage from both species parents.

One of my all-time favorites is ‘Sweet Tea’ foamy bells (Heucherella x ‘Sweet Tea’). It is a true garden performer. Large 4-inch wide palmate leaves become an orange colored tapestry which looks better from one month to the next. New spring foliage is bright orange. Some gardeners may opt to clip off flower stems to emphasize the rustic orange foliage colors. Leaves darken in the summer, and become a blend of orange and coppery shades in the autumn. Winter foliage is semi-evergreen in zones 6 and 7 and is fully evergreen further south.

Tiny creamy white, bell-shaped flowers open in late spring to early summer on sturdy stems, stand tall above the colorful foliage, and attract bees and butterflies.

Foamy bells want very little maintenance. They’re best planted in organically rich, well-drained soil and in a partially shaded area. Full morning sunlight and irrigation (or 1 inch rainfall  weekly) are ideal condition. A new planting benefits from irrigation the first year; mulch plants to conserve soil moisture. Sweet Tea tolerates summer’s heat and dry periods because of its H. villosa bloodline (USDA hardiness zones 4–9).

Foamy bells are semi-evergreen through winter. Plants should be divided every 3-4 years in early spring before spring growth resurgence; remove and discard the old woody parts of the crown.

Leading cultivars at this time:

‘Sweet Tea’ – rustic orange leaves on 20 inch tall and 28 inch wide plants; tiny white flowers in early summer.

‘Buttered Rum’ – deeply cut, maple-shaped leaves begin caramel, changing to a rose-red for the fall. Sprays of small white flowers appear in late spring

‘Stoplight’- bright yellow leaves have a large, dark red blotch in the center which feathers out through the veins. Tiny white flowers on 12 inch tall stalks in late spring into early summer.

‘Sunrise Falls’ – brilliant chartreuse leaves with red veins; plants 8-12 inches tall

Seasonal Mowing Height Of Home Lawns

Red fescue lawn properly mowed

Red fescue lawn properly mowed

Fescue Lawn mowed too closely

Fescue Lawn mowed too closely


The arrival of summer’s heat and dry weather is a clear sign to raise the cutting (mowing) height of your lawn grass.  Every grass species have a recommended height at which it should be mowed for best health. The cutting height will change with the season. Location in the yard is also important. Here on some basic tips.

Recommended Mowing Heights of Grass Species:

Burmuda grass*  –  ½ to 1 ½ inches

Zoysia grass*  –  ¾ to 1 ½ inches

Centipede grass  – 1 ½ to 2 inches

St Augustine grass  – 2 to 4 inches

Fescue  – 3 to 4 inches

A general rule to follow is to remove only one-third of a grass plant at any one mowing. For example, if you regularly mow your fescue lawn at 3 inches, allow it to grow to 4.5 inches tall before mowing.

In temperate areas (zones 5 to 7), most lawns are composed of tall fescues and/or bluegrasses. These grasses are usually mowed at 2 1/2 to 3 inches high. In partial shade fescue may be cut slightly taller @ 3 1/2 inches. In summer, mowing height should be raised a minimum of ½ to 1 inch taller than spring. Raising the mowing height results in deeper rooting and better drought and heat tolerance.

In summer’s heat and drought, if your lawn does not need mowing, DON’T!! Reduce mowing frequency in summer unless your lawn is irrigated and fertilized. Cool season grasses such as fescues and bluegrasses naturally grow slower (“summer dormancy”).

Growth of warm season grasses (burmuda, zoysia, centipede, and St. Augustine) also slow down when soil moisture is low. Raise the mowing height of bermuda grass and zoysia grass lawns as autumn approaches to protect the turf from winter injury.

Scalping (too close cutting) favors growing of undesirable grass species and weeds. For example, low mowing in early spring leads to invasion of weedy annual bluegrass (Poa annua). Scalping fescue lawns results in seedling burmuda grass, crabgrass, goosegrass, and other weeds.

Deadheading Rhododendron Flowers

Rhododendron days after flowering

Rhododendron days after flowering

After deadheading

After deadheading


Large-flowered rhododendrons (Rhododendron catawbiense) benefit from “deadheading”, the practice of removing the old spent flower heads.  Deadheading encourages increased branching, which frequently results in more blooms the following spring. It also cleans up their scruffy appearance. Small-flowered types (including ‘PJM’, lepidote rhododendrons, and azaleas) do not benefit from deadheading and are mostly self-cleaning.

Deadhead your rhododendrons within three weeks after flowering. Vegetative buds have yet to emerge. Later, when the new soft vegetative shoots are emerging, they’re easily damaged. Deadhead early in the day when plants are fully turgid and not wilted. Deadheaded rhododendrons look better and it directs the plant’s energy into growing rather than setting seeds.

Flower stems are very sticky, so wear protective hand gloves. Gloves in turn also become sticky and results in bud breakage. You can use a sharp scissors or needle-nosed pruners to make clean, more precise cuts. Periodically, dip the shears in rubbing alcohol (ethanol) to remove the sticky debris.

Deadheading is beneficial to rhododendrons, but is not a necessary practice. It can be very time consuming. Otherwise, rhododendrons require little annual pruning. They eventually outgrow their space and/or crowd out nearby plants.

Reviving A Severely Damaged Crape Myrtle In The Spring

Winter-injured Crape Myrtle

Winter-injured Crape Myrtle

New basal shoots on Winter-Injured Crape myrtle

New basal shoots on Winter-Injured Crape myrtle


Crape myrtles (Lagerstroemia indica and hybrid cultivars) are rated as hardy perennials and semi-hardy shrubs or trees in USDA zone 6 and parts of zone 7. Since the year 2000, an average of 1 out of 3 winters has killed some crape myrtles to the ground. By late May new shoots emerge from the very hardy rootsystem below ground or from lower areas on the shrub or tree that were not injured by winter cold.

In general, crape myrtles grow very rapidly, assisted by adequate soil moisture and spring fertilizing. New shoots may also push out in upper parts of the plant, but are removed. It is best to severely cutback the plant or multi-branches near the base to invigorate numerous new shoots to pop out in the coming weeks

Repaired crape myrtle(s) bloom on new summer wood, so flowering is not lost, just delayed a few weeks.

Additional cultural tips: feed your shrub or tree crape myrtle immediately after pruning, using 10-10-10 or equivalent fertilizer. Lightly mulch around the base of the plant for a neat weed-free look. Irrigate only during long summer dry spells. When large numbers of new shoots form, you may opt to re-prune and eliminate all but 1, 3, 0r 5 shoots. By reducing numbers, the remaining shoots grow taller and still bloom.

Never, never prune or fertilize crape myrtles in fall and through most of the winter season.

Monitor And Manage Two-Spotted Spider Mites

Two spotted mite on henbit (magnified) (photo courtesy of Dr. Frank Hale, Univ. of TN)

Two spotted mite on henbit (magnified) (photo courtesy of Dr. Frank Hale, Univ. of TN)

Phlox -2-spotted mite damage (credit: Mt. Cuba Center)

Phlox -2-spotted mite damage (credit: Mt. Cuba Center)


Two-spotted spider mites are destructive pests that ravage a wide host of shrubs and garden plants, including certain house plants, annuals, perennials, herbs and vegetables. Many evergreens are also susceptible.

Two-spotted spider mites are warm season arachnids, not insects, and are exceptionally troublesome over a hot dry summer. They have a short lifecycle, from egg to adult can be completed in about seven days. High numbers can build up and get out of hand in less than a month.

Two-spotted spider mites have sucking mouth parts and most frequently feed on the underside of leaves, sucking out green sap which results in a mottled or flecking appearance. Severe infestations can cause leaves to drop off and massive webbing over plant foliage.

Monitor periodically to see if they are present and in what quantities. Take a clipboard with a piece of white or yellow paper. Briskly shake the flowers or foliage over the paper and inspect for mites. Adult mites are easy to spot; they will be moving and have 8 legs (insects have 6 legs). They’ll have two black spots on both sides of the abdomen. Also use a 20x hand lens for accurate identification.

A number of miticides are available but they must be applied correctly. Thorough coverage of all plant parts is essential. Many miticides are contact only, but some are translaminar, e.g. penetrate through the leaf tissue and remain active in the leaf.

Horticultural oil sprays can be used.  Spray once every 7-10 days(no more) to maintain mite populations at low levels.  Insecticidal soaps can also be applied.  Professional miticides, not necessarily available to home gardeners, include abamectin (Avid 0.15 EC), acequinocyl (Shuttle O), bifenazate (Floramite 50 WP), etoxazole (TetraSan 5 WDG), spiromesifen (Forbid), and hexythiazox (Hexygon).

Never rely on the same miticide in the garden. Select two miticides for spider mite spray program that are different chemical classes.

Credit: Pesticide recommendations supplied by Dr. Frank Hale, University of Tennessee Entomologist, Nashville.

Mite Webbing on Marigolds in Late Summer

Mite Webbing on Marigolds in Late Summer