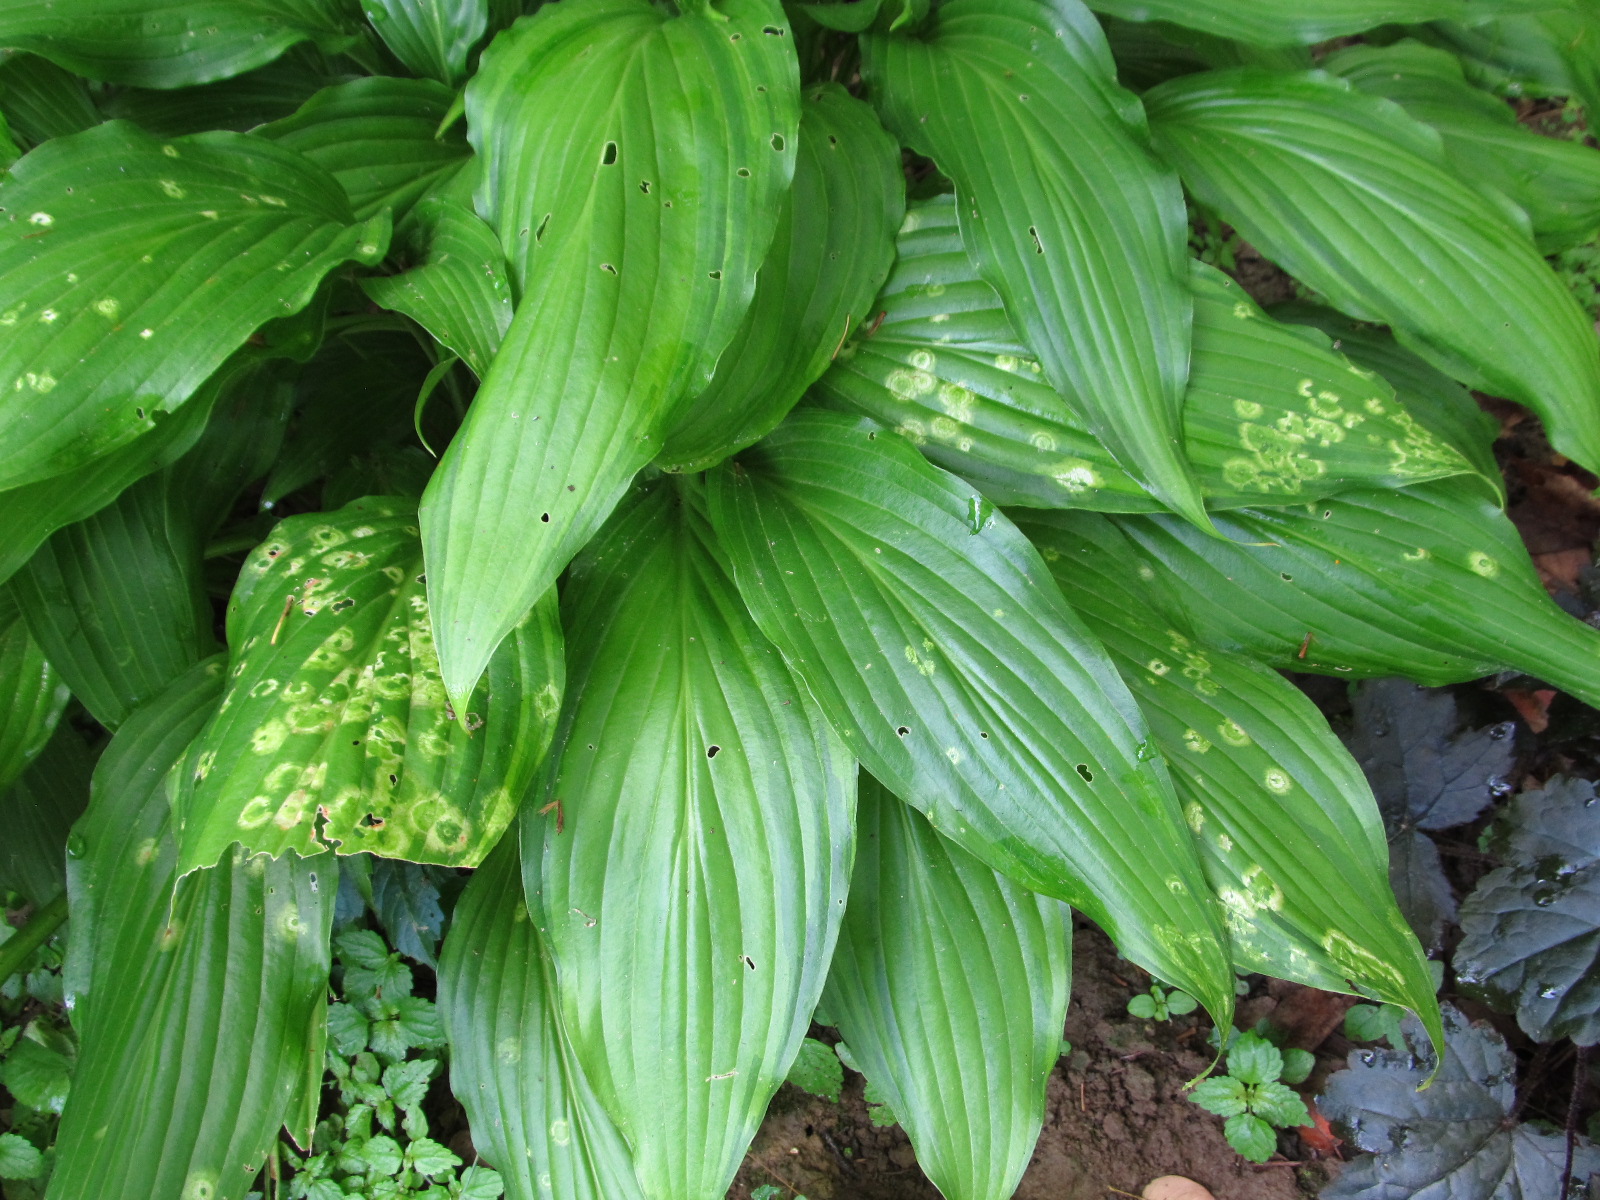
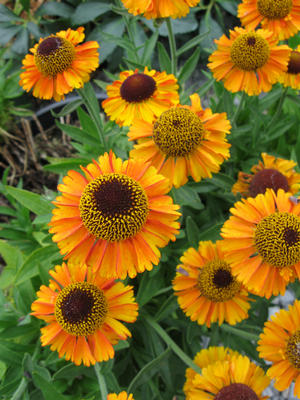
Flower/foliage of cultivar ‘Moonlight’

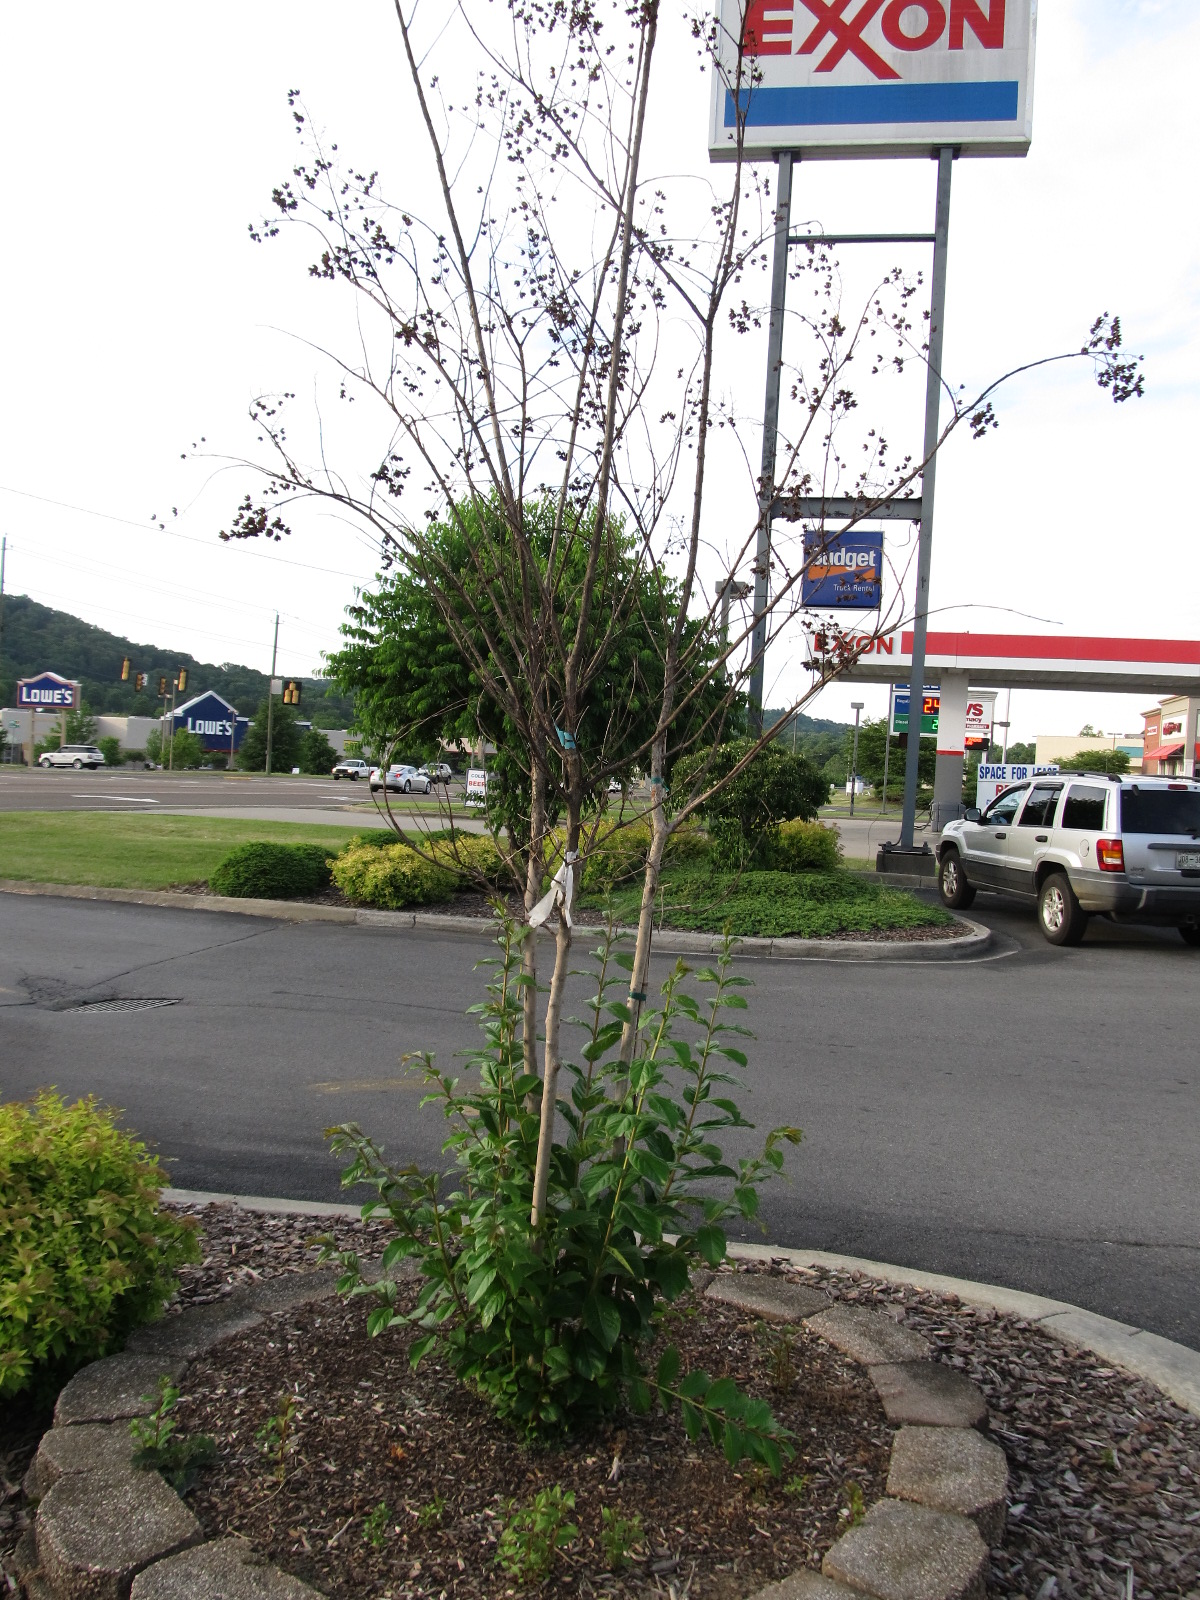
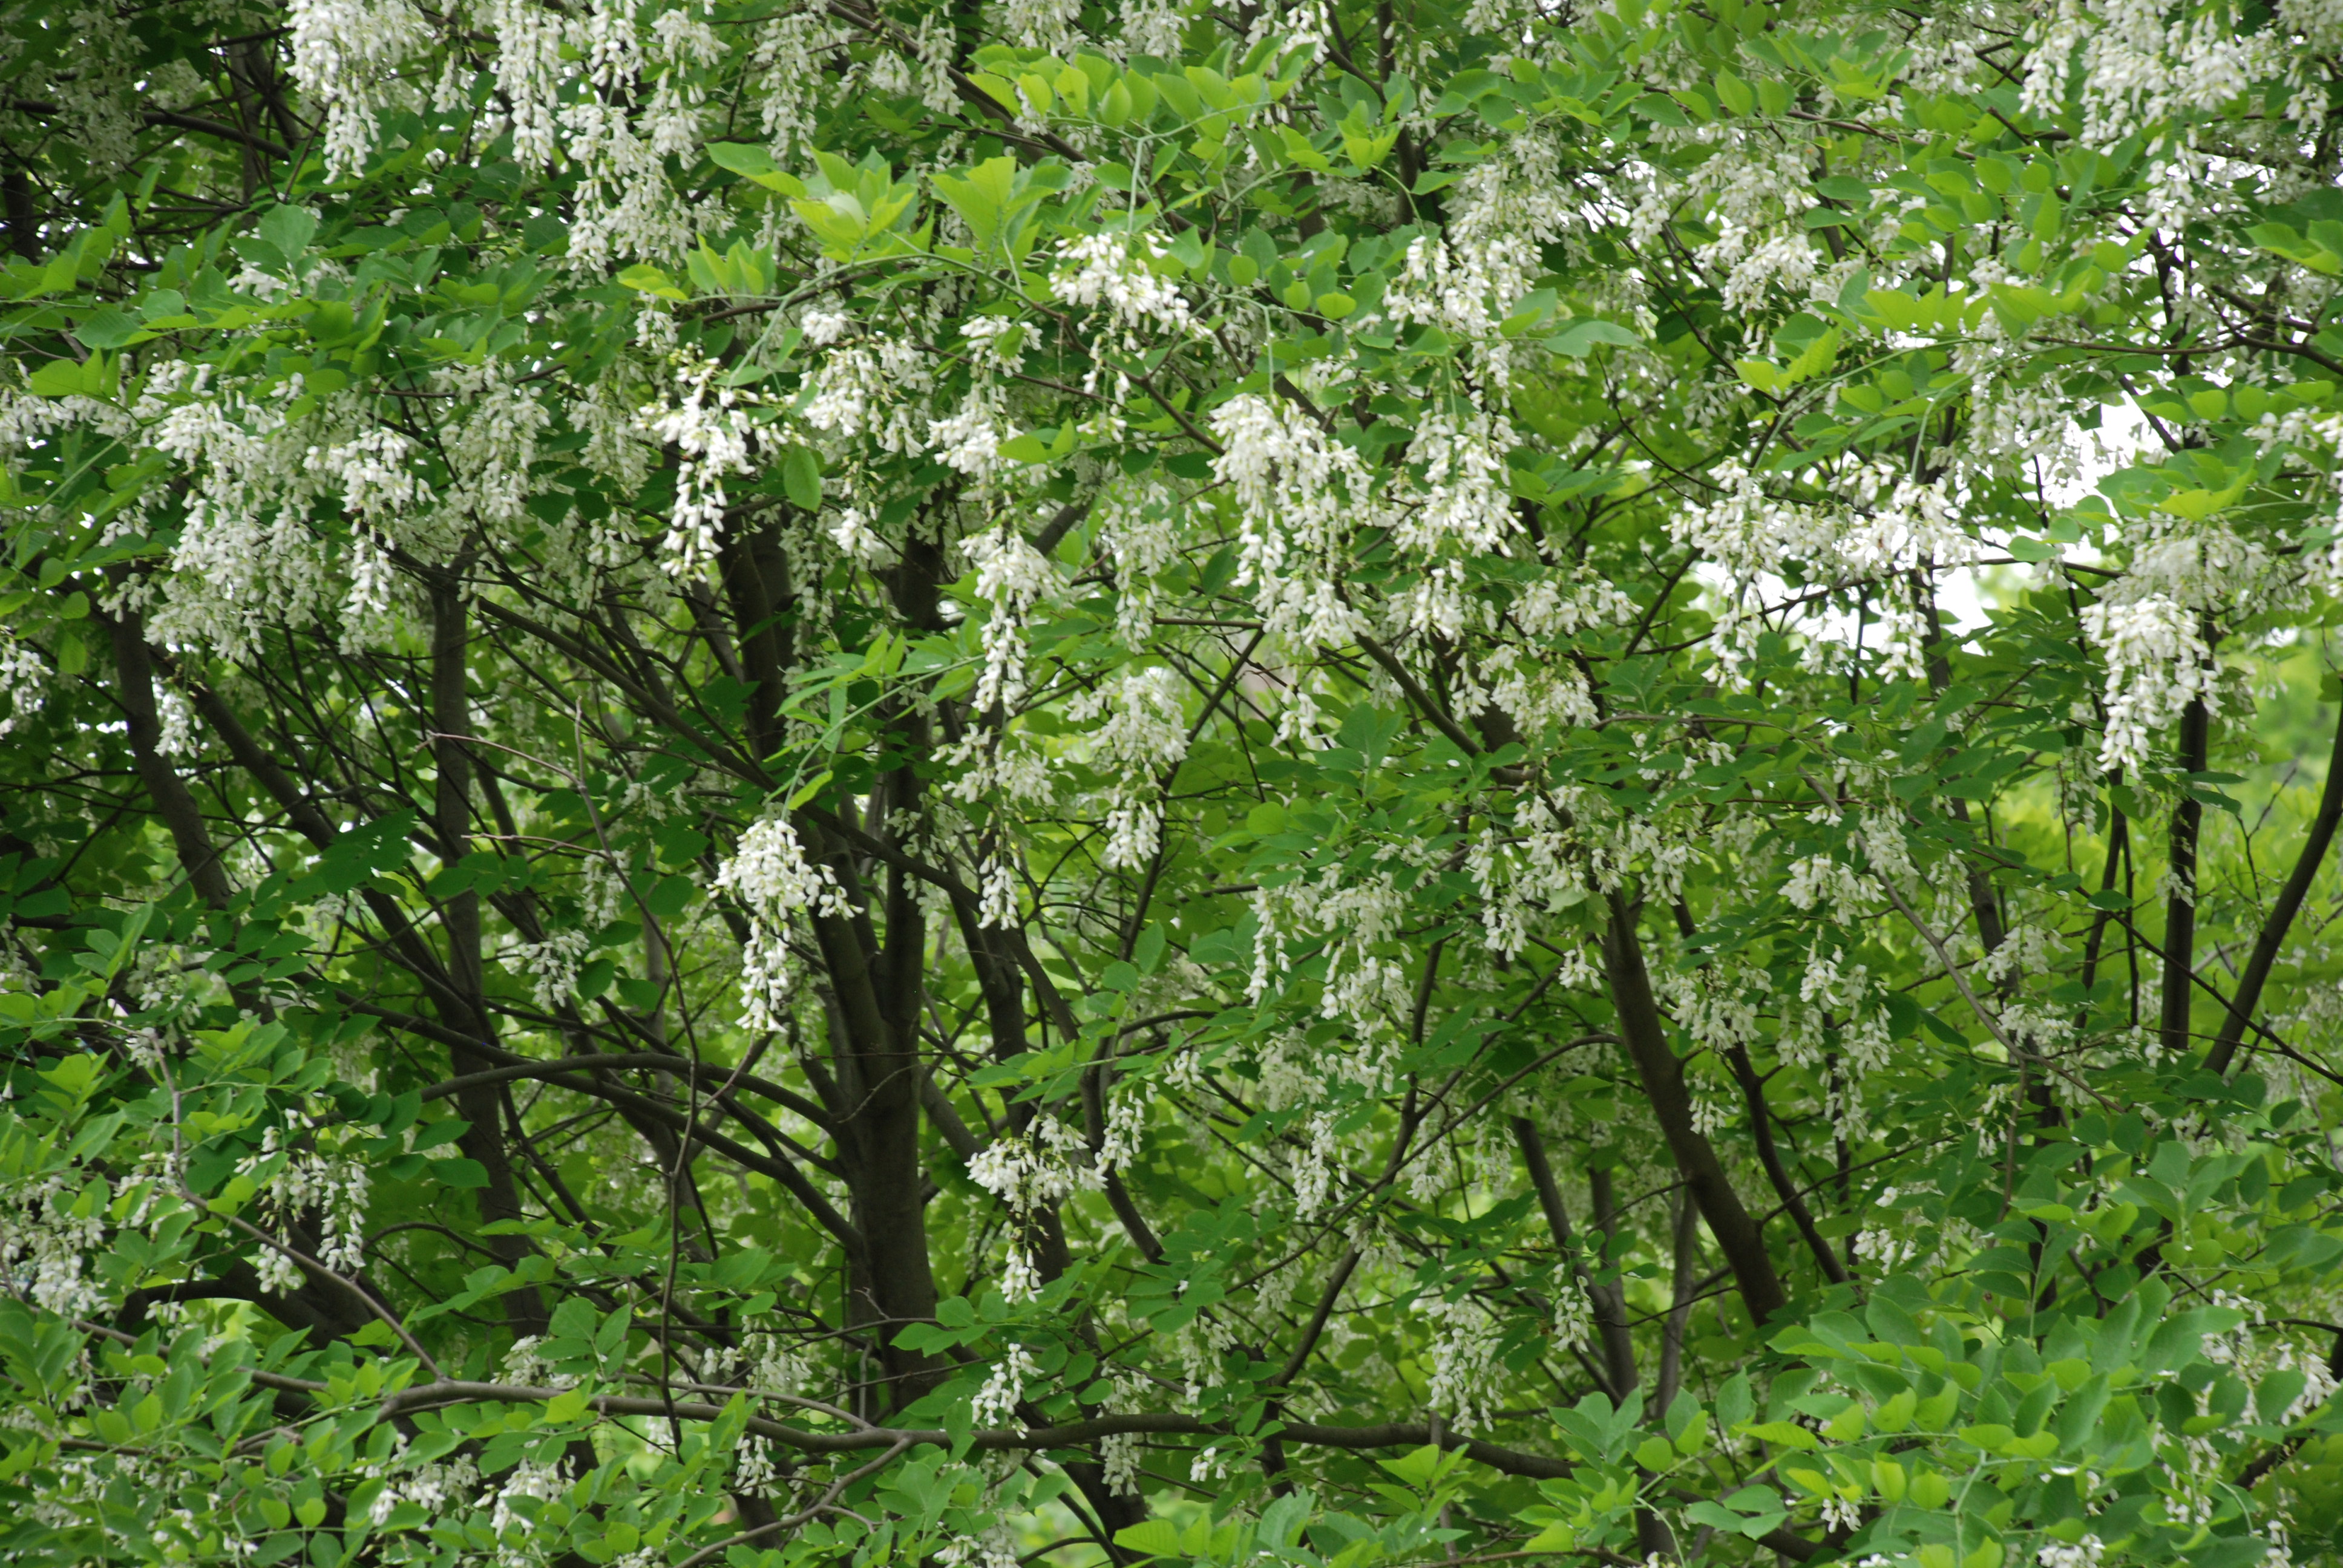
5 year old Schizophragma hydrangeoides
Japanese hydrangea vine (Schizophragma hydrangoides) ‘Moonlight’ is a deciduous woody vine (USDA hardiness zone 5 to 8). It is closely related to climbing hydrangea vine (Hydrangea anomala ‘Petiolaris’).
This ornate climbing vine is valued for its silvery, silvery-green, heart-shaped foliage and large, flat-topped, lace cap hydrangea-like clusters (8-10 inches across) of creamy white flowers. Initially, it starts out slowly, but will cover a 5 square foot area on a wall and puts on a fabulous flowering show after 5 years.
The 8-10 inch wide creamy -white panicled blooms are comprised of numerous fertile florets surrounded by sterile outer flowers that each have only one spade-shaped petal. They appear in late June into July in Tennessee bloom for 6 to 8 weeks. Flowers are lightly fragrant up close. Leaves measure 3-5 inches across with good yellow fall color.
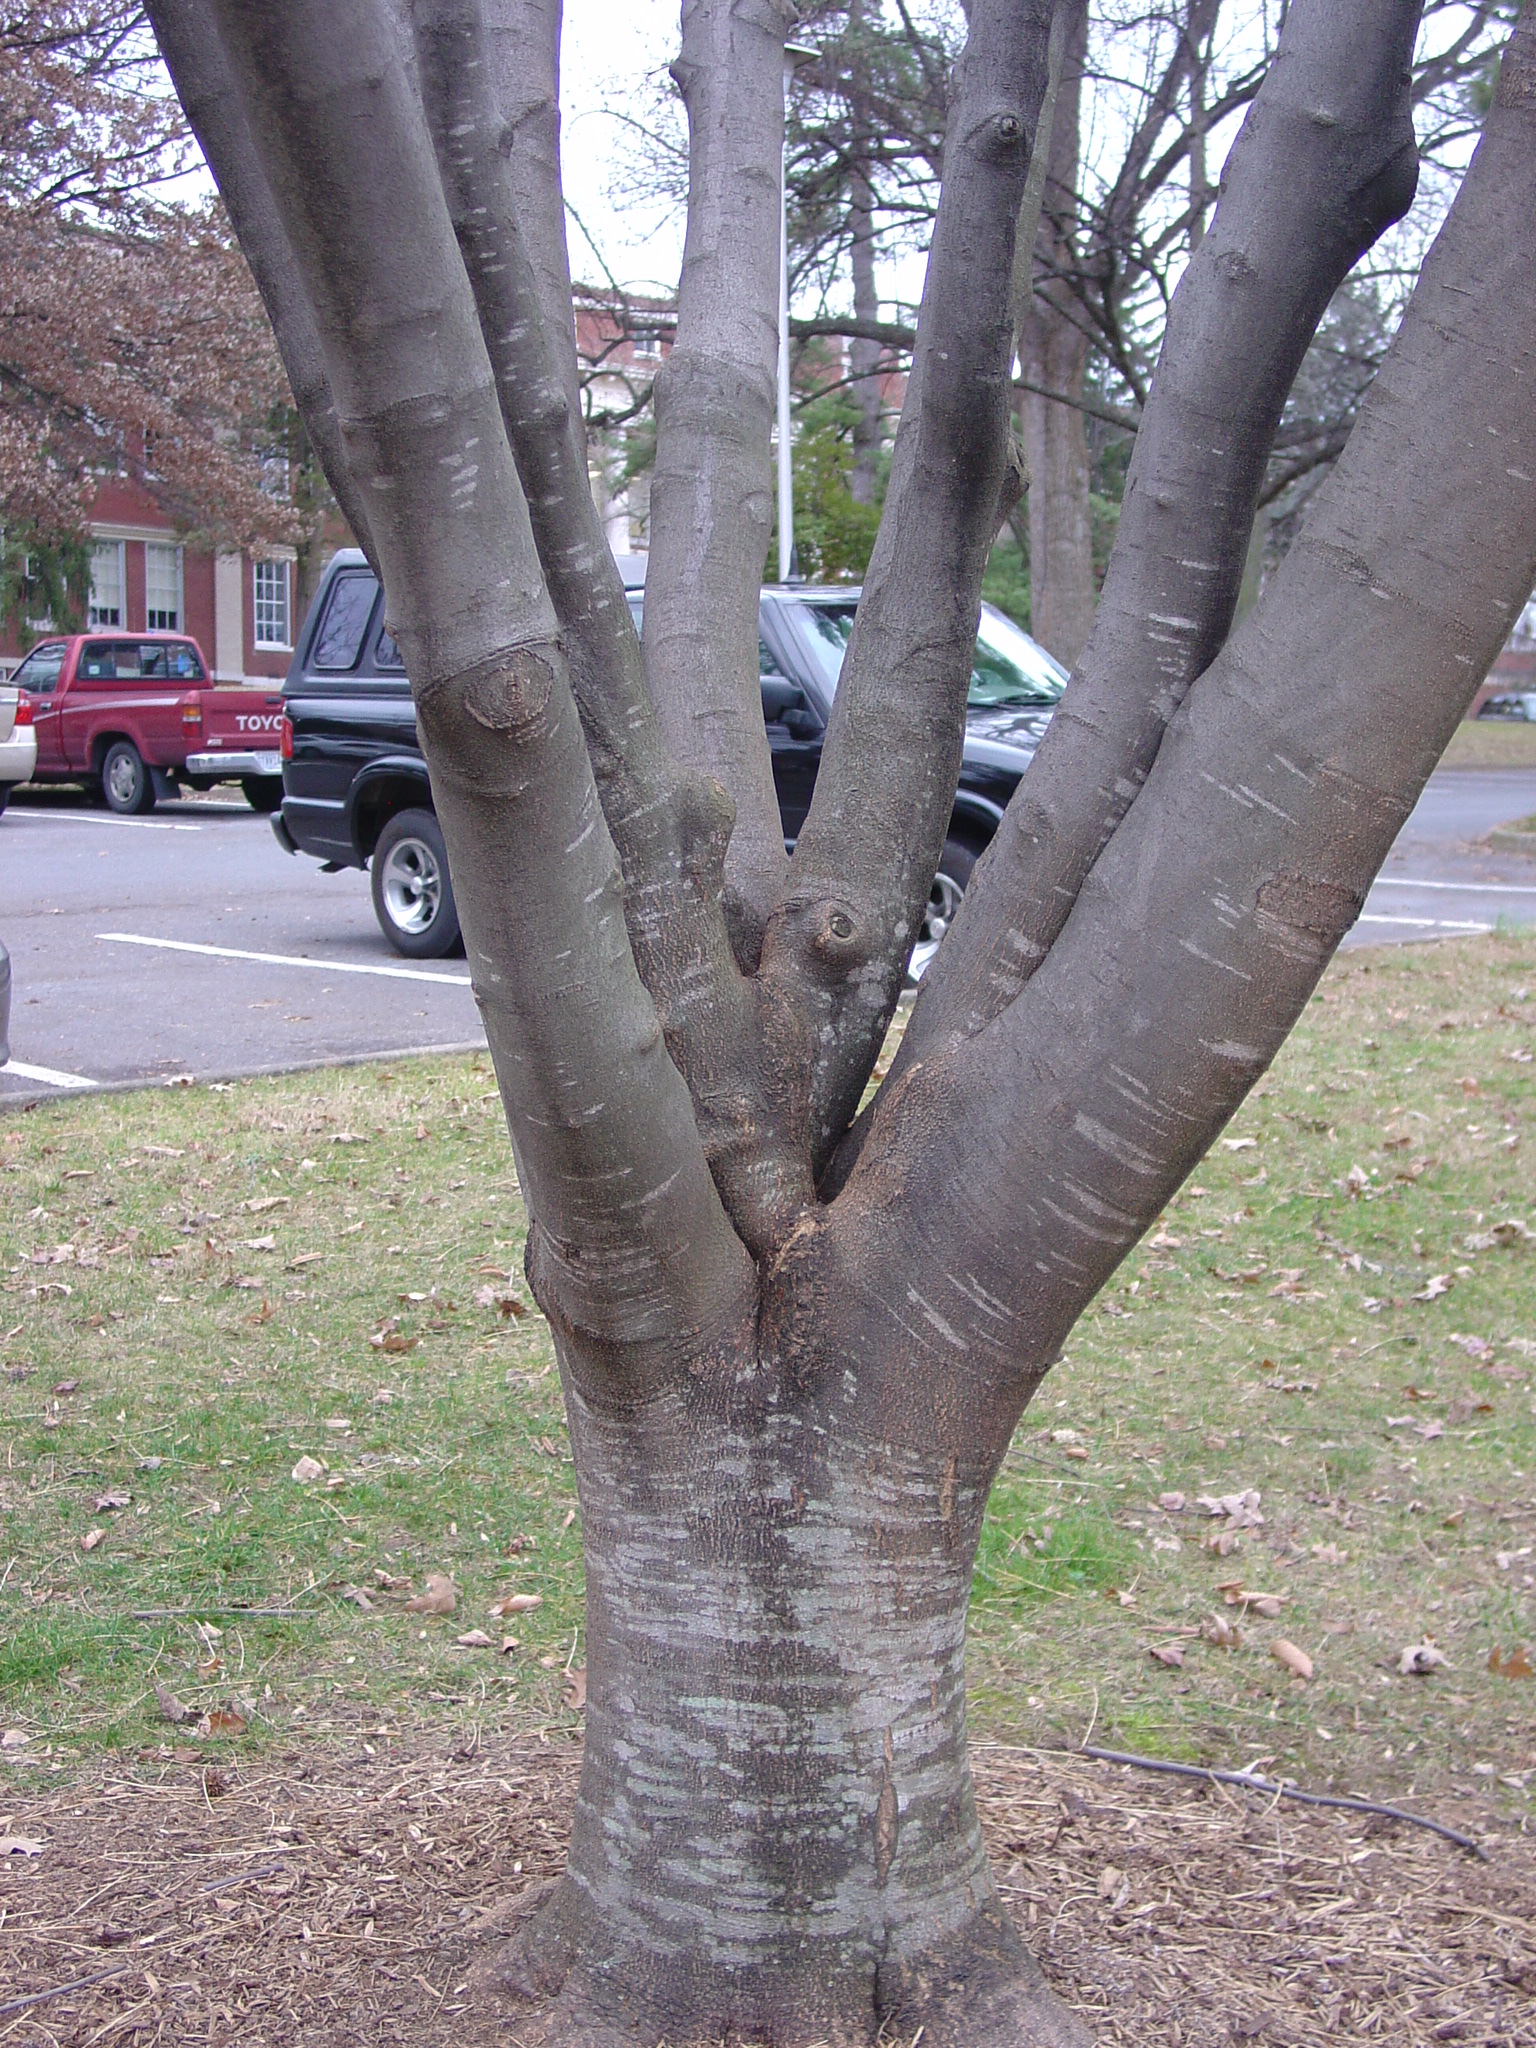
This woody grows against a wall, fence, or large tree. Fine adhesive rootlets emerge from young stems and attach to the mortar or brick surface. Reddish-brown stems provide a little winter interest. The silver-green leaves have long petioles with deep-green veining.
Japanese hydrangea vine is planted in part sun to partial shade for best flowering and foliage. Grow it in rich, medium moisture, well-drained soil. Fertilize lightly in early spring, but do not over stimulate. Prune in late winter to early spring to remove any winter injured stems and to contain growth. A single plant will eventually grow 20 to 30 feet or more wide. Space multiple plants 6-9 feet apart along any long wall to be covered. Insect or disease problems are rare.
Vine growth rate: over the first two years growth rate is slow, but gains speed in subsequent years. Plants begins blooming within 3 years which is a lot better that hydrangea vine. It is not as pH sensitive as hydrangea vine.